At the beginning of the year, the love of my life, Brennan, asked me to marry him and I said yes. And the wedding was just this past weekend And because we are doing everything as low budgeted as possible from DIY to using what we have in regards to decor and attire.
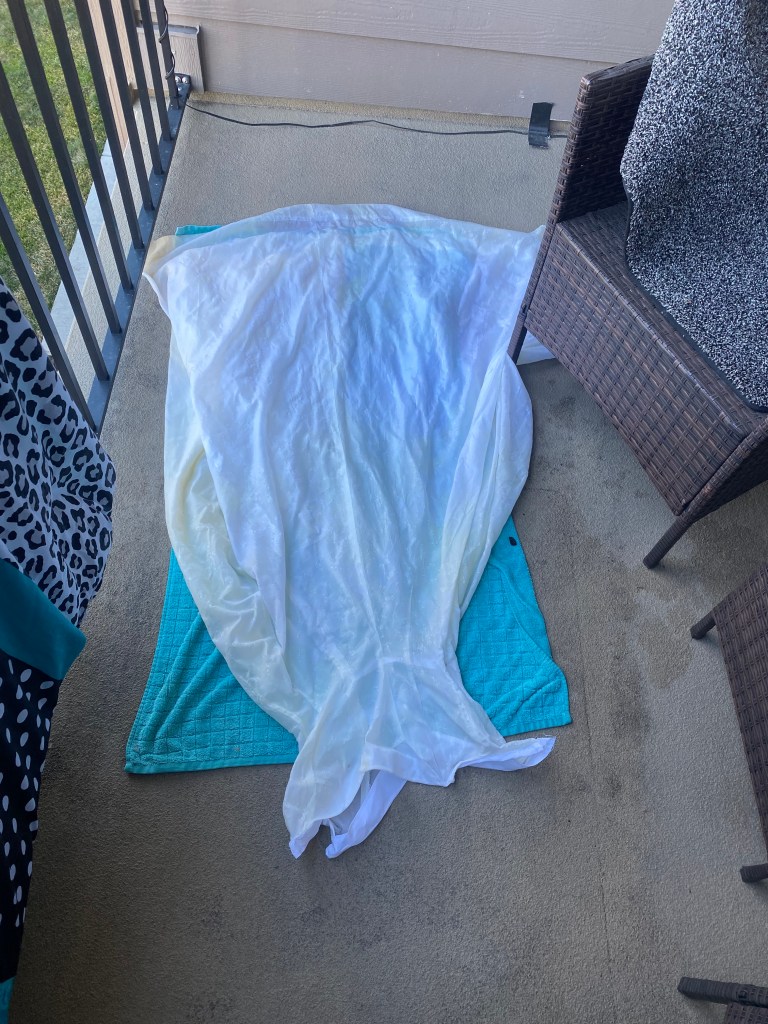
I was able to try on my mom’s wedding dress and knew that this is the dress for me. And the question is how did I get it from looking like this:
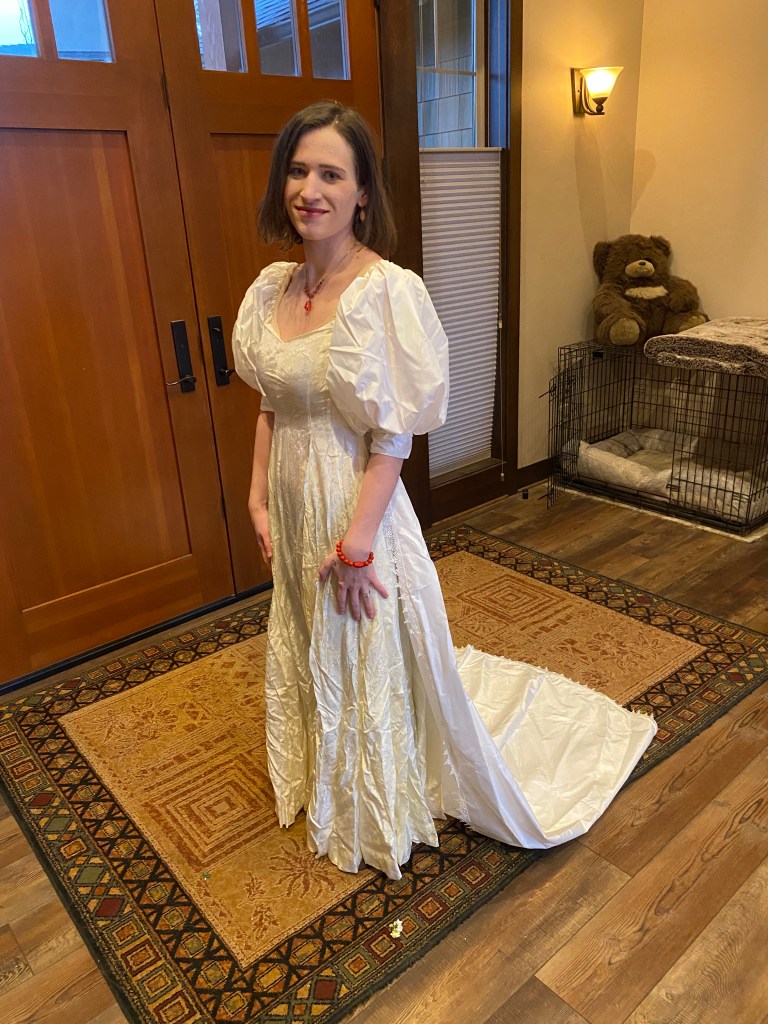
To looking like this:
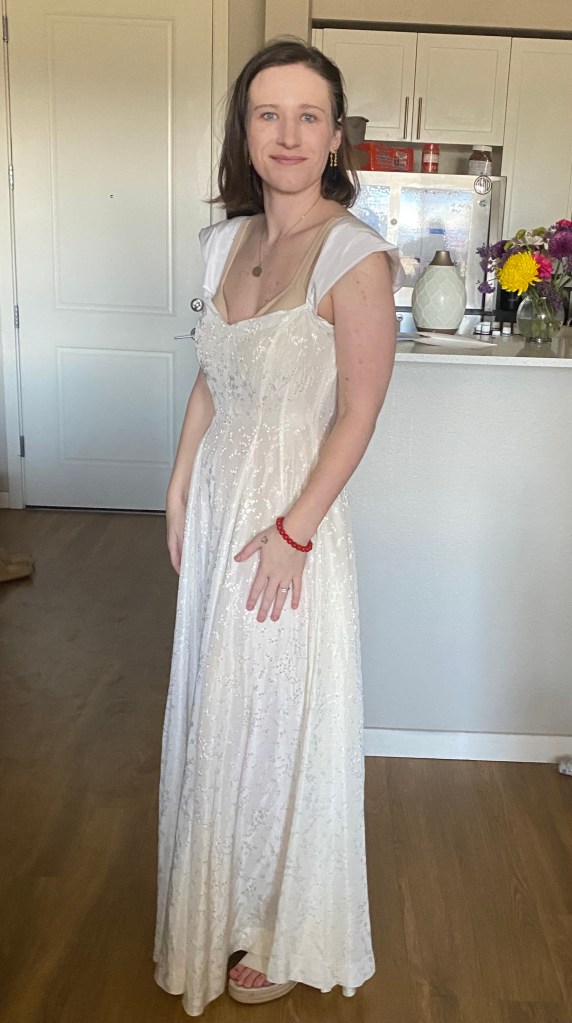
Backstory
Before it was mine, it has been worn by 2 different generations; making me the third to wear it! 70 years ago my great grandma made it for my grandma to wear it on her wedding day. Years later, my mom gets to wear the exact same dress, but with a little alteration from her mom
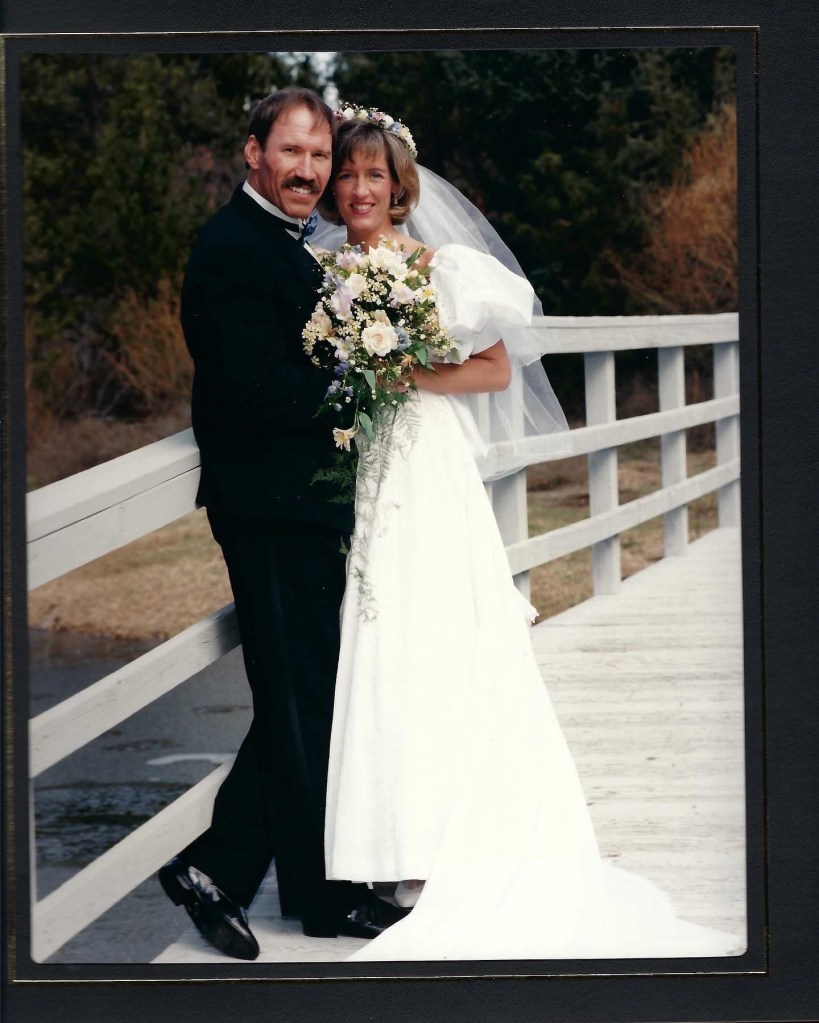
And mom, 31 years later, hesitantly, gave me this 70 year old heirloom to not only spruce it up, but make it my own. After trying it on (carefully), I made a mental list of what to do:
- get rid of the yellow stains
- remove the zipper, sew it up, and create an opening in the back
- remove the puffy sleeves and make new sleeves
If you got the hands to sew like a pioneer on the Oregon Trail and want to give it a shot, follow along!
1. Getting the stains out
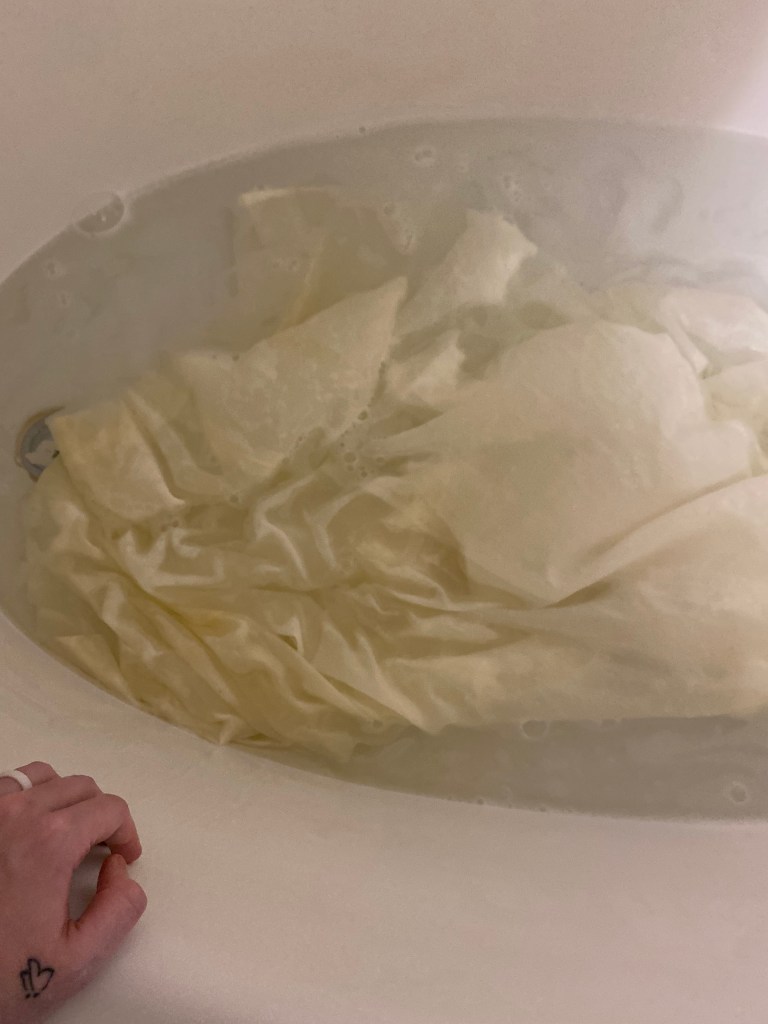
This one is one of the most tedious things I had to do mainly because the material is about 70 years old and you have to do it with the most delicate care. So I’ve done some serious research research and I would love to give it to you guys so you don’t have to. How to do it is this:
- Gentle detergent (I used tide free and gentle)
- Vinegar
- Cold water
The best way to do it is use a little bit of detergent and a little bit of vinegar to start off with and do them in intervals because with older fabric, you gotta be careful you can’t just go all in. So start with one hour and see how it looks and then leave it in another hour. If you feel really confident of how it’s gonna go or how it’s gonna turn out leave it in for about four hours and check to see if the stain has gone. Never use bleach on this and the reason for vinegar is that it is a natural bleach that has been used for years and years as a natural bleaching agent. And if you are ambitious to get those stains out, I would give it a little bit of a sun bath after the vinegar soak. But again be careful. Keep an eye out for any sort of damage that could pop up.
3. The sleeves
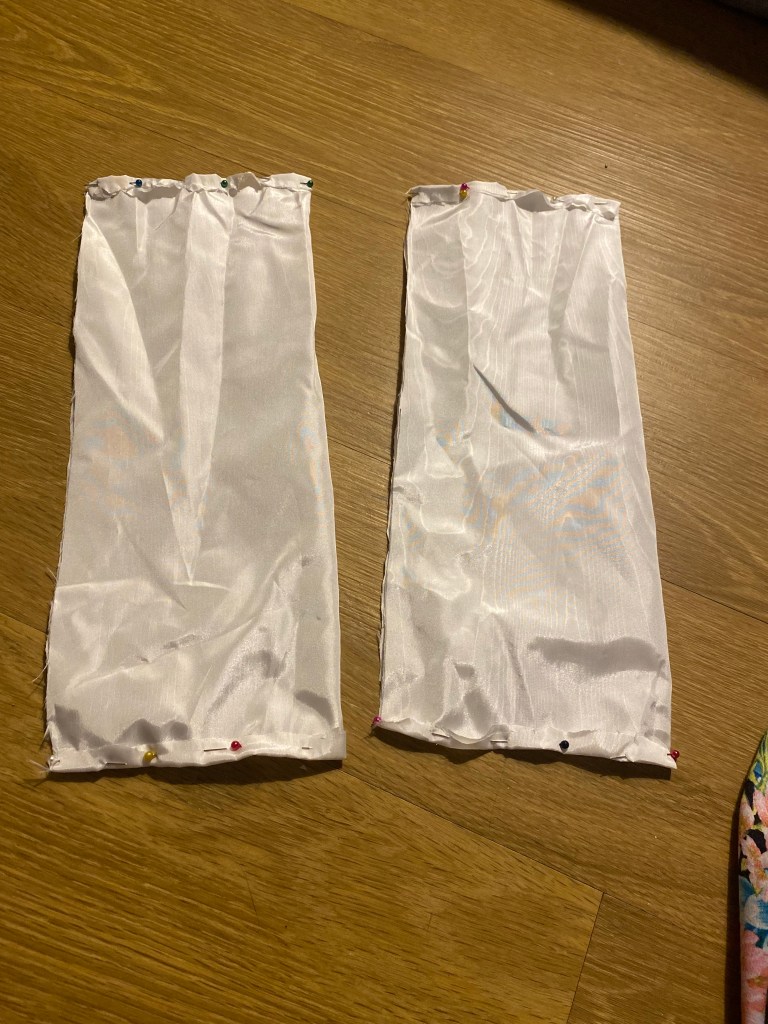
All the different YouTube and Internet tutorials make the shoulder cap sleeves a lot more complicated than it already should. So here’s what I did. After removing the original sleeves and cutting out the armband, but I’m left with is free fabric to work with. So I was able to fold the fabric of each sleeve, cut it 6 inches wide to 13 inches long (during the final touches with the seamstress, it it cut to about 9-10 inches long). And then basically saw the ends shown in the image below.
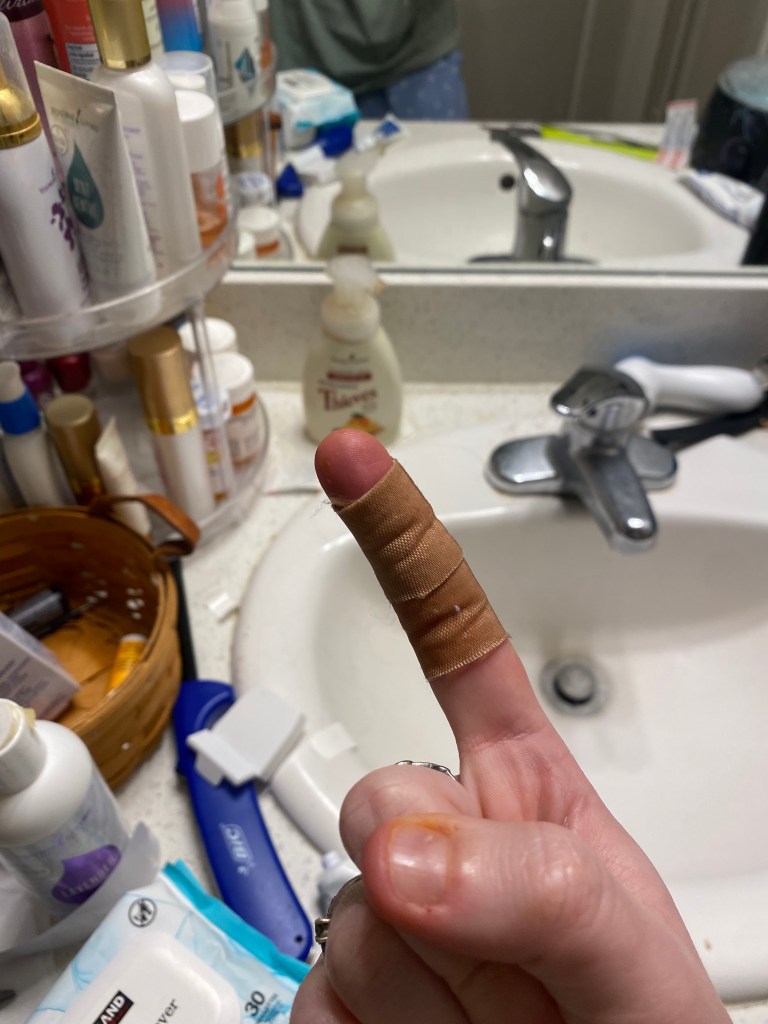
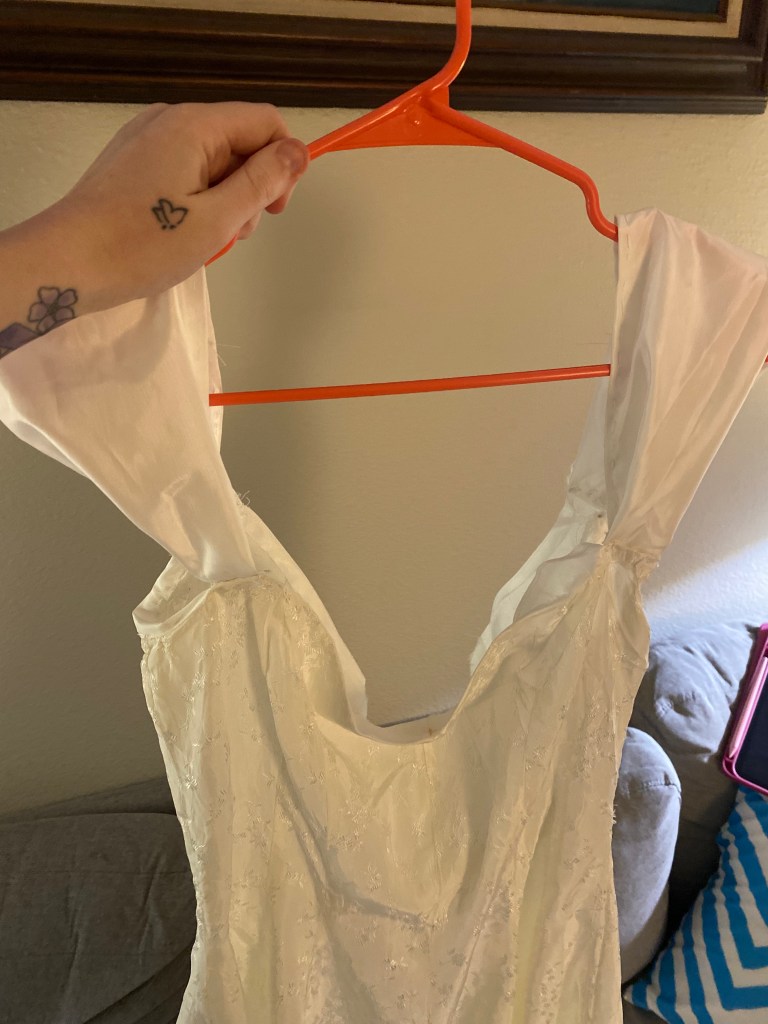
Now this is the hardest part: sewing it to the dress. It may sound simple, but it’s not because to make it that ruffled look is to fold the ends twice, making sure that the folded part is on the outside and the sewed end towards the neck. And my biggest caution is that it’s gonna be very, very hard to get through the layers by hand. I don’t know how it’s gonna be with a sewing machine, but by hand make sure that you have some sort of padding on your fingers like a couple bandages or some people would say a thimble, because without any protection of your finger, it’s gonna pierce through and there’s gonna be blood. The biggest thing to make sure of is not just location, but durability meaning that the thread can hold and not falling apart.
Zipper vs corset back
The dress originally has a zipper on the side, but since I am a size larger than my fore-mothers, I removed the zipper, stitched it up, used a seam ripper for the back and sewed in the corset back kit I got off of Amazon. The reason why I went for a corset back is so that no matter how much weight has fluctuated between then and the day of, I won’t have to worry about adding more fabric. And also for my female descendants who plan on wearing the dress on their wedding days, their size would be different than mine so it would accommodate them verses with the zipper wear it is one size fits all.
Add ons
When it comes to add-ons, such as petticoat skirt or a type of bra that you need or even double sided tape, that doesn’t count as the alterations because it’s not sewn in. Once you’re able to get the full dress on and get other people‘s opinions on what to do with add-ons or removal then you can go on and do that. I originally had kind of like hook holders hold onto the train for the ceremony and bow for the reception (it already came with the dress). But luckily with my matron of honor and giving me feedback about not doing that because it’s already pretty enough, makes me go “OK I appreciate that.” And for the final touches, my mom insisted on taking it to a seamstress and thank Jah we did because the sleeves were falling down and there was a weird piece of fabric in the back where we necessarily need it.
Dress price
Alterations:
Tide: $12
Vinegar: $2
Corset kit: $23
Total: $37
Add ons:
Adhesive bra: $28
Slip: $26
Veil: $25
Total: $79
To recap…
- Making alterations and restoring a 70 year-old wedding gown is very tedious so you have to do a lot of research before you get started.
- The seam ripper is gonna be your best friend during your alteration process. Don’t use the scissors unless you really have to.
- If anyone doubts that you can do it by hand, prove it to them that you can actually do it… Or get one of those “underestimate me I dare you” T-shirts 😂
- make this your own. If you don’t like the sleeves, make the sleeves your own. If the waist line isn’t what you want, make it your own. It’s not about trying to please look for your forefathers (or in this case foremothers)
- And this is very vital: be careful, especially when you’re working with older fabric and you don’t wanna rip it. Cause you may never find another piece of fabric exactly like that.

